MTB Dirt Skills Pt 4 - Trail Scanning
Dec 1, 2022
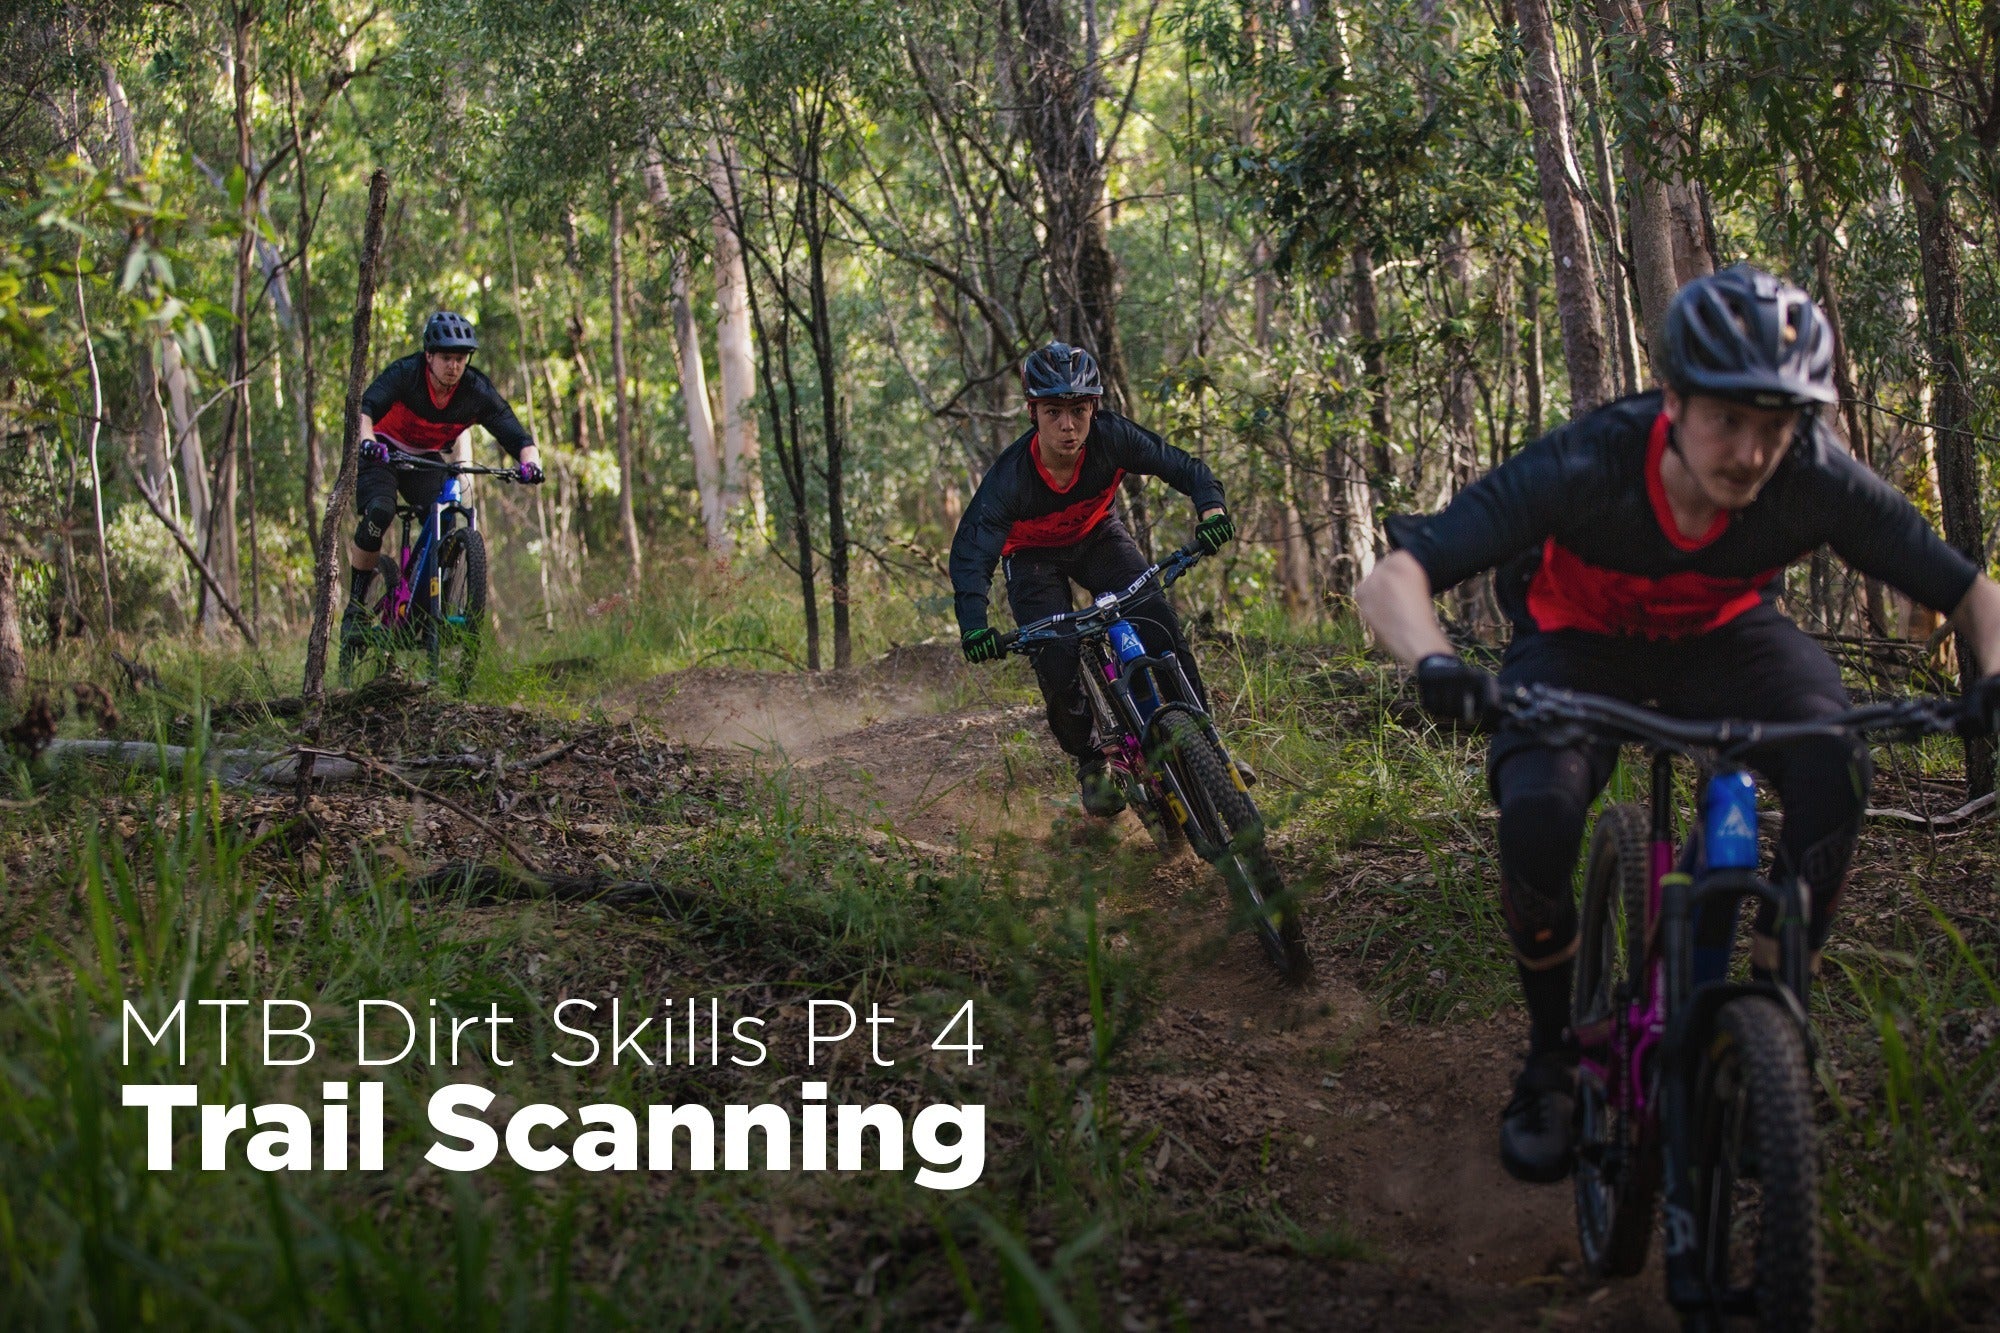
In this article Cameron Allonby from Dirt Skills MTB Coaching is taking us through scanning the trail so that we're aware of upcoming risks and hazards, and prepared for whatever the trail throws at us.

Scanning helps you find your flow and smoothly link sections of trail, increasing your safety, consistency and efficiency. Scanning involves more than just looking ahead—you are looking in all directions to assess your surroundings and gathering the information you need to negotiate the trail smoothly and safely.
Primarily, you are looking for risks or hazards that may pose a danger to yourself or others.
Once you are happy that the trail is clear and safe to shred, you will be able to look for:
Surface conditions
Contours of the trail
The best route
Risks or Hazards
Some objects like large rocks or stumps, trees or gaps pose an actual risk because they are present every time you ride the trail. These things are stationary and easy to manage safely and consistently. Sometimes, your eyes will need to temporarily drop and look just ahead of your front tyre to make sure you avoid these hazards.

Other things such as unexpected changes in weather, other trail users, vehicles or wildlife are a potential risk because they move independently and may or may not be present when you ride. Managing these risks can be more challenging as they are often unpredictable. Look ahead or use switchbacks to scan back up the trail, helping you take notice of things like other riders or wildlife that may be coming from different directions.
The list of actual risks and potential risks is immense. Always ride in control and at a speed that allows you to manage these risks safely.

Surface Conditions
Evolving surface conditions are one of the things that make mountain biking so exciting, no trail is the same, lap after lap. Even a trail that is rocky from start to finish will differ depending on moisture levels or how much soil has been dragged in by dirty tyres.
When evaluating surface conditions, you are looking ahead to decide which sections of trail will be grippy and supportive or slippery and inconsistent. Paying attention to the conditions you are riding on will help build a mental database that you can recall when considering the timing of braking, accelerating or changing direction.

Rocks and roots will usually have less traction when compared to level ground so make an effort to brake or pedal in places where grip is maximised.
Changing direction is easiest on supportive, predictable, and tacky soil, so cornering confidence will grow when moisture levels are good. When assessing how much moisture is in the dirt, changes in soil colour are a great indicator.


Contours of the Trail
Up, down, flat or steep, the shape of the ground will dictate how trails should best be ridden. Keeping your eyes up and looking a long way ahead will give you the most time to make decisions.
Looking around corners will help you notice things like upcoming steep descents or pinch climbs. The earlier you notice a steep descent, the more time you will have to choose lines, pick braking points, and enter at an appropriate speed. The earlier you notice a pinch, the more time you will have to shift through to easier gears, maintaining your cadence and powering on without losing your flow.


The Best Route – Line Choice
The fastest line between two points is the one that allows for the highest average speed. This will generally be the straightest line possible, however, slightly longer lines may be faster if the surface conditions provide better traction and allow for more efficient pumping around corners.
Trails are three-dimensional and it is sometimes necessary to jump over, or ride around holes and obstacles to take the most direct route. Looking as far ahead as possible will give you the most time to assess the trail and make the best decisions.


The best route is not always obvious and will sometimes vary between riders, depending on their ability to maintain traction. Trails change, so don’t be stubborn and get set in your ways, try different things, ride different lines and see what works for you and what doesn’t.
Using a stopwatch, Strava or Garmin can be useful to time your laps and gather data to support your line choices. If you’d rather just ride, follow your friends and try different lines to them, taking note of where they pull away from you and where you catch back up.

Applying This to Your Riding
On the bike, dropping the ride intensity to 70 or 80% is a safe way to introduce new scanning techniques. Most of the time, you’ll be looking as far ahead as possible to maximise the time available to make decisions, however, situations like avoiding hazards might require you to temporarily drop your eyes.
You don't need to be riding a bike to practice scanning. Making an effort to scan while walking or driving will will soon make it a habit you perform subconsciously.
As your knowledge of risks and hazards, surface conditions and contours develop, you’ll spend more time focusing on important details and less time focusing on the small things of lesser importance. Only collecting relevant information simplifies the decision-making process, leaving you with more time to think about line choices that provide the best flow.

Cameron is available in the Brisbane area for small group coaching for 1-4 riders, as well as holiday programs for the groms. Check out Dirt Skills for more info.
Meet Cameron
Cameron Allonby is a lifelong riding enthusiast and the owner of Brisbane’s Dirt Skills mountain bike coaching.
Dirt Skills aims to develop skilful and accountable riders who support growth within the mountain bike community by being a polite group of shredding legends.


